Embrace and Drive Change

Even though colorful rocks are good for some things, nothing says “sophisticated” like aquarium sand and Epoxy-coated rocks are no longer used.
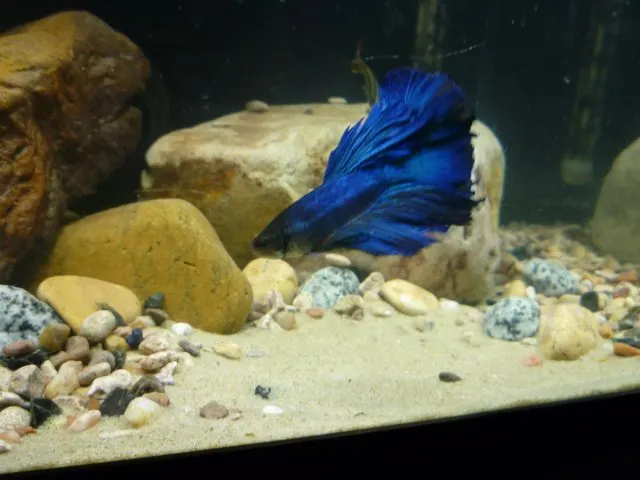
Household aquariums are supposed to add natural beauty to your home, not take it away with a mess of colors. Using sand gives your tank a more natural look, and more importantly, it will make your aquarium the focal point of your room. In this article, we’ll talk about the benefits of using sand and how to prepare it for use in your aquarium.

No matter what kind of sand you choose, you will have to prepare it before you put it in the aquarium. Here are the steps to properly prepare your sand:
– Determining how much sand you will need. One should always aim for around a pound of sand per gallon of water, or a consistent inch of sand.
– Rinsing/Cleaning sand. This is the most important step in preparing your sand. If you don’t rinse your sand before adding it to the tank, you’ll add too much dust, which will make your tank cloudy for weeks. To properly rinse sand, put it in a bucket and fill it with water. Stir the sand and pour off the dirty water. Do this over and over until the water runs clean. It may take a while to finish, but it will really help you in the end.
– Put the washed sand in an aquarium that is dry and empty, and then fill it with water. Putting a plate on top of the sand and pouring water over it will keep the currents from stirring up too much dust.
– Just. Be. Patient. No matter how careful you are when filling, the first time you use sand, the water will probably be cloudy in some way. This is normal, and it should stop within the first couple of days. If your sand is dusty, power filters will help clear your water a lot.
Your fish tank will have a well-known beauty now that you know how to use sand in aquariums. This inexpensive way to fix up your tank will make you happy for years to come.
You must be logged in to post a comment.
hey there and thank you for your information. I have certainly learn something new from your article here.